
Please expand the links below for instructions on how to complete your email migration process. If you need assistance with any post-migration issues or questions, please contact the Help Desk at x5440.
Link to office365 mailbox through the browser: https://outlook.office.com
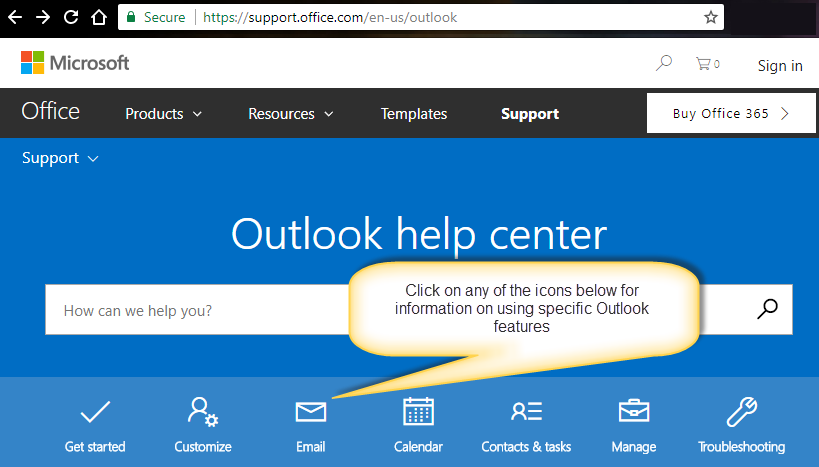
Outlook Help Center
Additional documentation and training videos about using Microsoft Outlook 2016 found in the Outlook Help Center. Click on any of the icons to access how-to's and videos about Outlook's features, customization settings and more.
Configure your account in Outlook app
-
Open the Outlook application from the Windows Start Menu
-
Click Next on the "Welcome to Outlook " screen
-
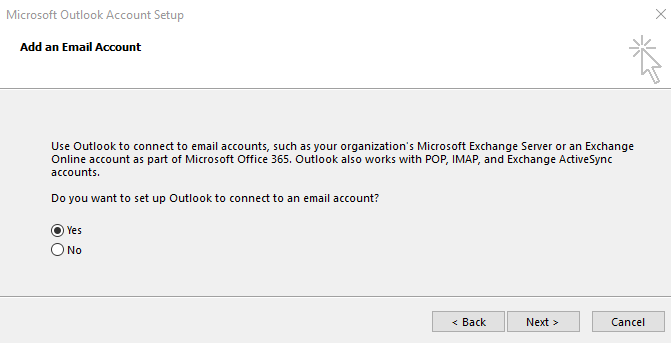
On the "Add an Email Account" screen, select the radio button next to Yes and click Next
-
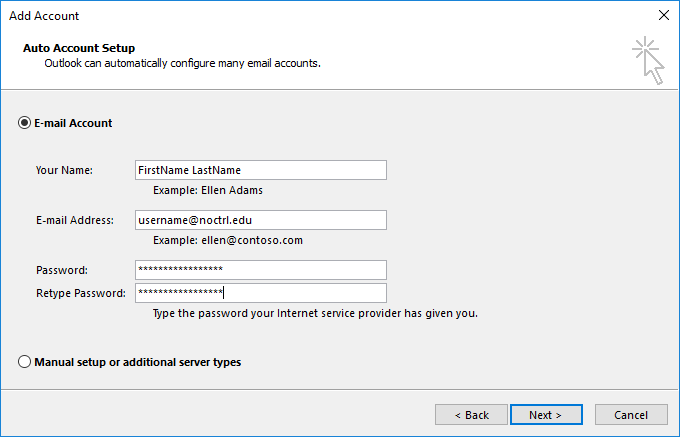
Complete the information as shown in the following image making sure to fill in all of the fields with your account's information. Click Next.
-
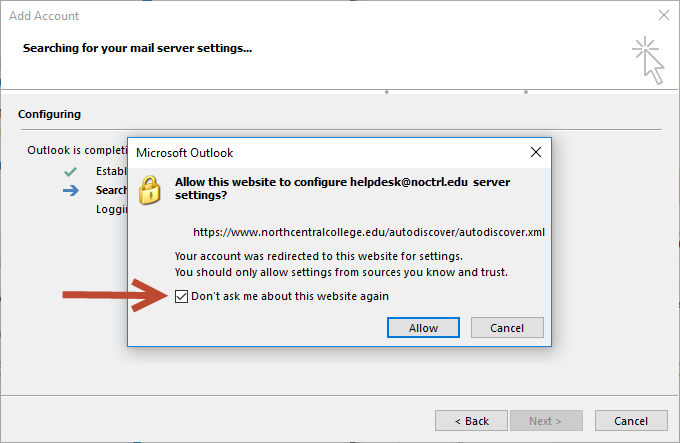
You will be presented with a screen asking you to allow this website to configure server settings. Check the box "Don't ask me about this website again" and click Allow.
-
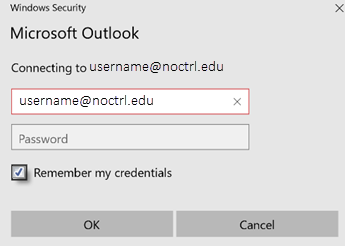
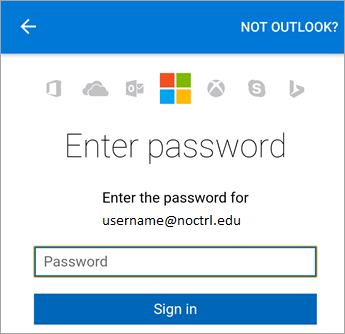
You will be prompted for your NCC username and password. Please type your full email address and password. If you would like Outlook to remember your password, please click the box next to "Remember my credentials." Click OK.
-
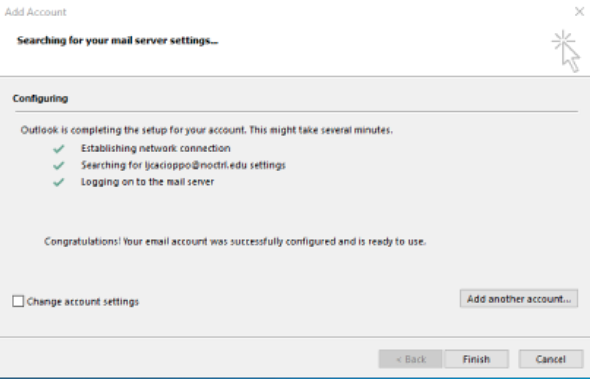
Outlook will now complete the mail setup process. Once it is complete, click Finish.
Create Your Signature
-
Launch Outlook
-
Open a new email message
-
On the Message tab, in the Include group, select Signature > Signatures...

-
Under "Select signature to edit," select New. In the New Signature box, type a name for your signature.
-
In the "Edit Signature" section, type your signature.
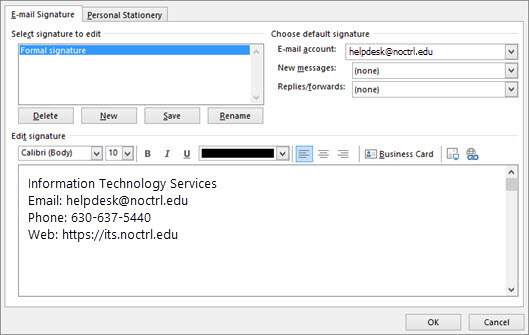
Under Choose default signature, set the following options for your signature:In the E-mail account list, choose an email account to associate with the signature. You can have different signatures for each email account.
In the New messages list, choose the signature that you want to be added automatically to all new email messages. If you don't want to automatically add a signature to new messages, choose (none).
In the Replies/forwards list, choose the signature that you want to be added automatically (auto sign) when you reply to or forward messages. Otherwise, accept the default option of (none).
-
Choose OK to save your new signature and return to your message. Outlook doesn't add your new signature to the message you opened in Step 1, even if you chose to apply the signature to all new messages. You'll have to add the signature manually to this one message. To add the signature manually, select Signature and then pick the signature you just created.
Learn more about customizing your Outlook signature
Configure Inbox Rules
- Choose Rules > Manage Rules & Alerts from the ribbon or choose the File tab and then choose Manage Rules & Alerts.
- In the Rules and Alerts dialog box, on the E-mail Rules tab, choose New Rule.
- In the Rules Wizard, under Step 1: Select a template, pick one of the default templates under Stay Organized, Stay Up to Date, or, Start from a blank rule.
- Choose people or public group in the edit description box to display your address book. Either choose a name from your address book or type the person's address in the From box, then choose OK.
- Choose specified to display a list of your folders. You can choose an existing folder or choose New to create a new folder. When you've selected the appropriate folder, choose OK.
- If you want to explore advanced options for the rule, choose Next and then skip to Advanced Rule Options, below. Otherwise, choose Finish. This returns you to the Rules and Alerts window. From here, you can create another rule or choose OK to save your changes.
- Choose the people or public folder link.
-
In the Rule Address dialog box, do one of the following:
* In the Search box, type a name.
or
* In the Address Book list, choose a source. - When your selection is displayed in the From box, choose OK.
- Choose the specified folder link, and in the Rules and Alerts dialog box, choose a folder, and then choose OK.
- Choose Next and go to Step 3: Set conditions for a rule.
Move messages with specific words in the subject to a folder
- Choose the specific words the subject link.
- In the Search Text dialog box, in the Specify words or phrases to search for in the subject box, type a word or phrase to be searched for.
- Choose Add to add your entry to the Search list pane, and then choose OK.
- Choose the specified folder link, and in the Rules and Alerts dialog box, choose a folder, and then choose OK.
- Choose Next and go to Step 3: Set conditions for a rule.
- Choose the people or public folder link.
-
In the Rule Address dialog box, do one of the following:
* In the Search box, type a name.
or
* In the Address Book list, choose a source. - When your selection is displayed in the To box, choose OK.
- Choose the specified folder link, and in the Rules and Alerts dialog box, choose a folder, and then choose OK.
- Choose Next and go to Step 3: Set conditions for a rule.
- Choose the people or public folder link.
-
In the Rule Address dialog box, do one of the following:
* In the Search box, type a name
or
* In the Address Book list, choose a source. - When your selection is displayed in the From box, choose OK.
- In the Flag Message dialog box, in the Flag to box, accept the default setting of Follow up, or choose another item in the list.
- In the For box, accept the default setting of Today or choose another item in the list.
- Choose OK > Next, and then go to Step 3: Set conditions for a rule.
Share Your Calendar
Access a Proxy Mailbox:
Grant Access to a Mailbox/Calendar/Folder
-
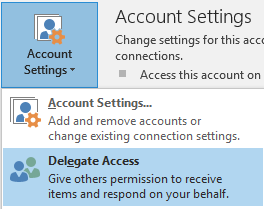
From the File tab, click Account Settings and then Delegate Access.
-
In the Delegates window, click Add.
-
Select the Outlook users you wish to add as delegates from the NCC Global Address List. When you've finished selecting users, click OK.
-
By default, Outlook gives delegates "Editor" permissions for the calendar and tasks folders.
* Editors have the ability to read, create, and modify items in your mailbox.
* You can modify individual delegate permissions to the Inbox, Contacts or Notes.
* Once you have made your selections, click OK.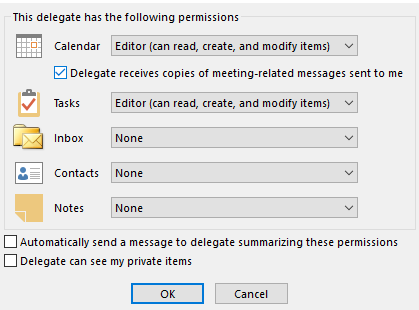
Please Note: You can also modify a user’s permissions at a later time by selecting a delegate's name from the Delegates dialog box, and then clicking Permissions.
Configure Your Mobile Device for NCC Email
iOS (iPhones, iPads) Mail App
Outlook Mobile App for Android
-
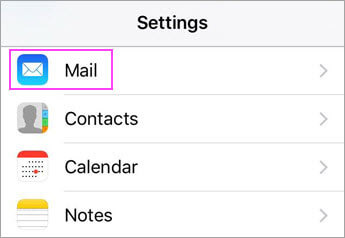
Go to Settings

-
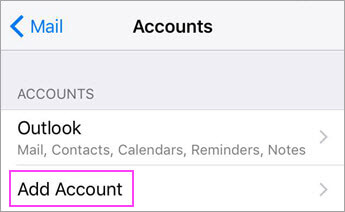
Select Mail -> Tap on Accounts
-
Tap on Add Account
-
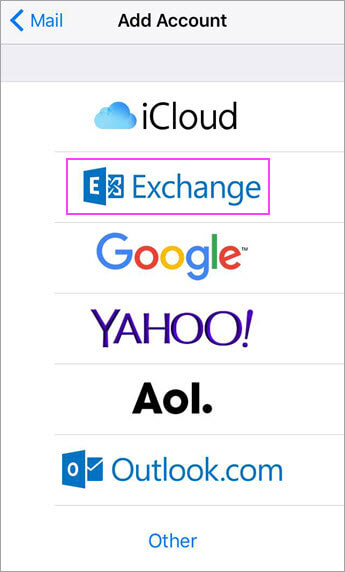
Select Exchange
-
Enter the following information:
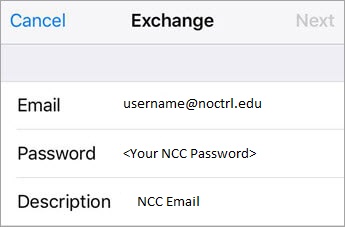
Click Next
-
On the next screen enter the following information:
Verify the "Email" field has your full email address
Server: mail.office365.com
Domain: <leave blank>
Username: Enter your full email address <username@noctrl.edu>
Password: <your password should already be entered from the previous screen>
Click Next
-
The Mail app may request permissions to access your calendar and contacts. To agree, tap Yes.
-
Select the items you wish to sync with the phone. Make sure mail is on/green
-
Click Save
-
Open your Mail app and refresh to begin downloading your mail

There are many different versions of Android. These instructions are based on the base version of Android released by Google, so your device might have a slightly different set of fields.
-
Tap Settings
-
Tap Accounts
-
Tap Add Account
-
Tap Microsoft Exchange ActiveSync or Corporate
-
Enter your full NCC email address <username@noctrl.edu> and your NCC password.
-
If you see a Domain\Username field, enter your full NCC email address
Please Note: If Domain and Username are separate fields, please enter your full email address in Username and leave Domain blank.
-
If you see a Server field, enter outlook.office365.com
-
Tap Next
-
To complete auto configuration, tap OK
-
Select the Account Options you wish to use.
-
Tap Next
-
Tap Microsoft Exchange ActiveSync to update the display name of your account.
- Tap Next -> your inbox should now appear
iOS - Outlook Mobile App
- Download and install the Outlook app (free) from the AppStore.
-
Open Outlook.

-
Open the menu in the upper left corner > Tap Settings
- Tap Add Account > Add Email Account
- Type your full @noctrl.edu email address and tap Add Account
-
Enter your NCC password
-
Tap Yes or Allow to give Outlook permission to sync your calendar, contacts etc.
Outlook Mobile App - Android
- Download and install the Outlook app (free) from the Play Store.
-
Open Outlook.

-
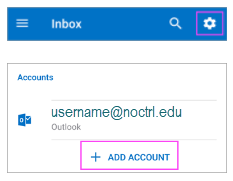
Tap Get Started if it is your first time using Outlook. Or, go to Settings > Add Account > Add Email Account
-
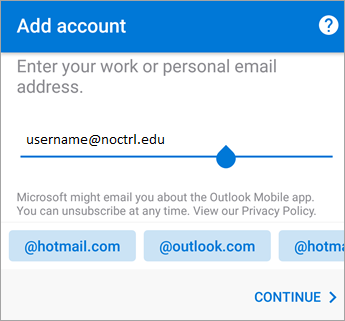
Enter your full @noctrl.edu email address and then tap Continue
-
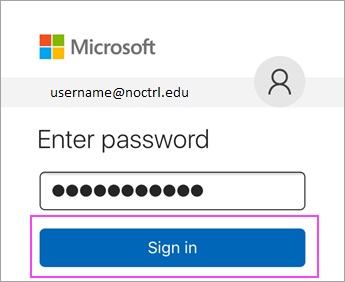
Enter your NCC password and tap Sign In or Next
-
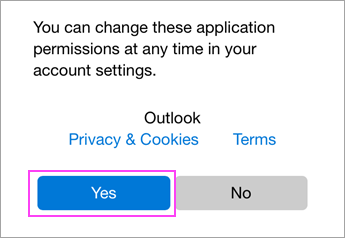
Outlook my request permission to access you calendar, contacts etc. Tap Yes or Allow.
Check out the Outlook WebApp
Access you NCC email from the Internet using your preferred web browser.
Web App Address: https://outlook.office.com
- Login using your full NCC email address and your current NCC password.
- Click Sign in

Create your Junk Safe/Blocked Sender Lists
Once your account is moved off of Novell, you will no longer manage your SPAM settings through Edgewave’s Red Condor. All Junk Mail settings will be managed through Outlook. Any suspected SPAM messages will be delivered to Outlook's "Junk Email" folder.
Managing Sender Lists:
-
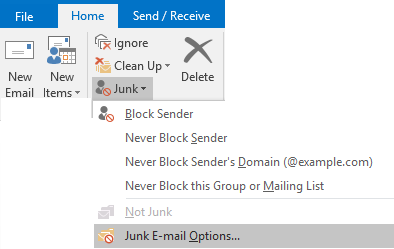
Click Home > Junk > Junk Email Options.
-
Safe Senders List: Similar to the “Friends” list in Red Condor, mail addresses and domain names in the Safe Senders List are never treated as junk email, regardless of the content of the message. You can add your Contacts and other correspondents to this list. The Safe Sender limit is 1024.
-
Safe Recipients List: If you belong to a mailing list or a distribution list, you can add the list sender to the Safe Recipients List. Messages sent to these email addresses or domain names are never treated as junk, regardless of the content of the message.
-
Blocked Senders List: You can easily block messages from particular senders by adding their email addresses or domain names to the Blocked Senders List. When you add a name or email address to this list, Outlook moves any incoming message from that source to the Junk Email folder. Messages from people or domain names that appear in this list are always classified as junk, regardless of the content of the message. The blocked sender limit is 500.
Additional information is available on Microsoft's Website
Changing your password while off campus
Changing your password while you are off-campus will not work using Microsoft Outlook Web Access. As a result, NCC has rolled out a new password maintenance tool that will allow you to perform password maintenance tasks while on or off campus.
Please follow the instructions below to change your password. You do not need to "reset" your password if you still know your current password and it has not yet expired.
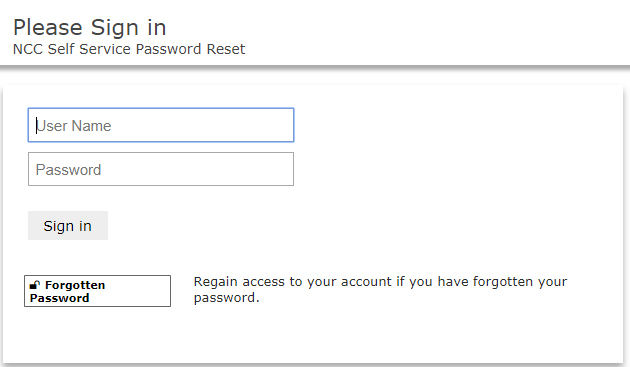
- Navigate to https://password.noctrl.edu
-
Enter your current NCC username and password and click "Sign in."
-
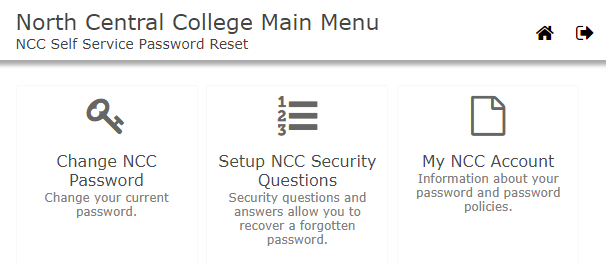
Click "Change NCC Password"
-
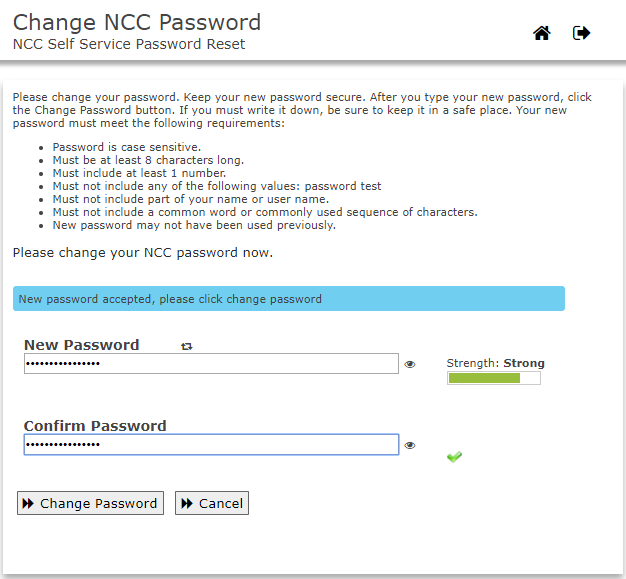
Select a new password that meets the requirements presented on the "Change NCC Password" screen. As you type your password in the "New Password" field, it will be evaluated for strength. Please choose a password that is rated as "Strong." Retype the password in the"Confirm Password" box and click the "Change Password" button.
-
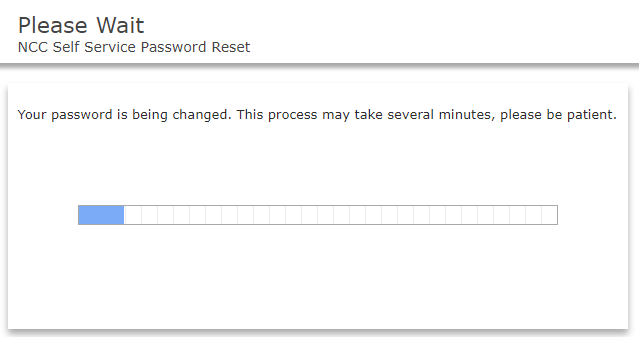
A box will appear indicating that your password is being changed. Please do not close out of your browser during this process.
-
When the process is complete, you will receive a message confirming that your password change is complete. Click "Continue." You will automatically be logged out.

IMPORTANT: The password reset tool will only work to reset a forgotten password if you have already logged into the tool and configured your security questions. If you have forgotten your password and have not already provided answers to your selected security questions, you will have to visit the ITS Help Desk in Carnegie 110 with a picture ID to have your password reset.
Request a Read Receipt on a Sent Message
Request a Read Receipt:
Groupwise allowed you to see the delivery and read status of any message delivered to an NCC email address. While Outlook doesn’t have this, it does support a similar feature called “read receipts.”
- From Home tab, click the New E-mail icon.
-
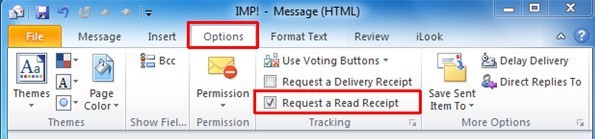
Navigate to Options tab, and From Tracking pane click the check-box next to the Request a Read Receipt option to request a read receipt for this message.
- Click Send
- By enabling this option, the recipients will be asked if they are willing to send a read receipt back to the sender.
Note: If the recipient agrees, you receive the receipt in your inbox. The receipt will show the time/date of the original message and when it was read. This feature can only confirm that a person has read an email; it does not confirm that a person has not read a message. It is possible for a person to have read your message without returning a read receipt to you.
Access a Shared Mailbox
Access a Proxy Mailbox in Outlook on Windows:
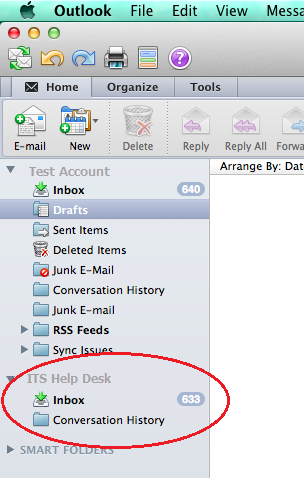
The proxy mailboxes you have permissions to view will automatically appear in your Outlook profile. The mailbox will be available in the folder list in the left pane. Scroll past your mailbox folders to access your Proxy Mailboxes.
Access a Proxy Mailbox in Outlook on Mac OS X:
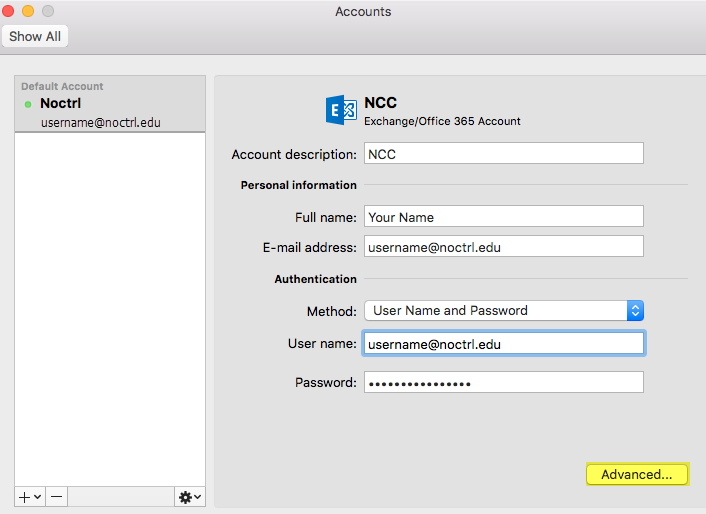
- Launch Outlook 2016
-
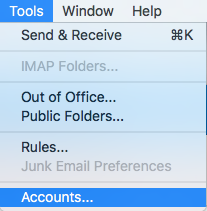
From the "Tools" menu, select "Accounts"
-
Select your NCC account and click "Advanced..."
-
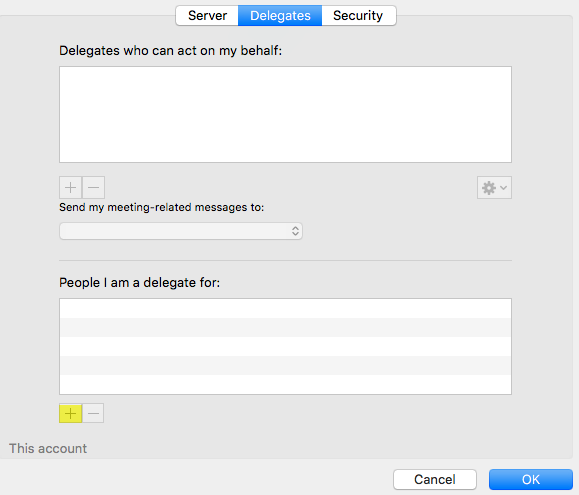
Select the "Delegates" tab
-
In the "People I am a delegate for" section, click the + symbol
-
Type in the name of the shared mailbox. Select the user from the result list. Click Add.
-
Click OK to close the accounts window
-
The shared mailbox will appear as a folder in the View list in the left pane of Outlook.
Send Messages from a Shared Mailbox
-
Launch Outlook
-
Click "New Email"

-
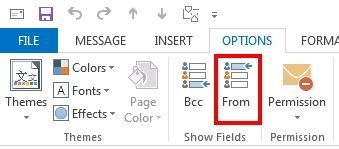
If the From field is not visible, click on the "Options" tab, in the "Show Fields" group, click "From" to display the From field for this and all future messages.
-
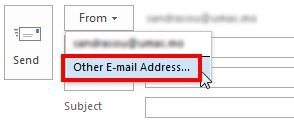
Click the "From" field and then select "Other E-mail Addresses..."
-
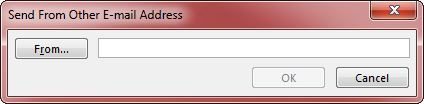
Type the name or email address of the shared mailbox and then click "OK."
-
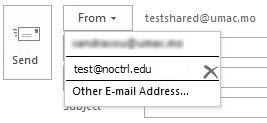
The shared mailbox name will be displayed.
-
In the future, you can click the "From" button and select the address from the drop-down menu to send from the shared mailbox.
Microsoft Outlook Documentation and Training
If you have any questions after your migration is complete, please feel free to reach out to the ITS Help Desk at (630) 637-5440.
Outlook Help Center
Additional documentation and training videos about using Microsoft Outlook 2016 found in the Outlook Help Center. Click on any of the icons to access how-to's and videos about Outlook's features, customization settings and more.
Import Contacts/Distribution Groups
By default, most of your contacts will automatically be migrated from GroupWise to Outlook as part of the standard migration process. Click the link below for additional instructions on how to export your distribution groups and lists from GroupWise and then import them into Outlook.