
Residential Network Getting Started Guide
Every residence hall room receives the NCC_Wireless network signal. Each device will require minimal configuration to connect to the wireless network. Please navigate to the Wireless Configuration page for detailed instructions on how to connect your device.
Each residence hall room is also equipped with one wired network jack per occupant. The ports in your room will look something like the picture below.
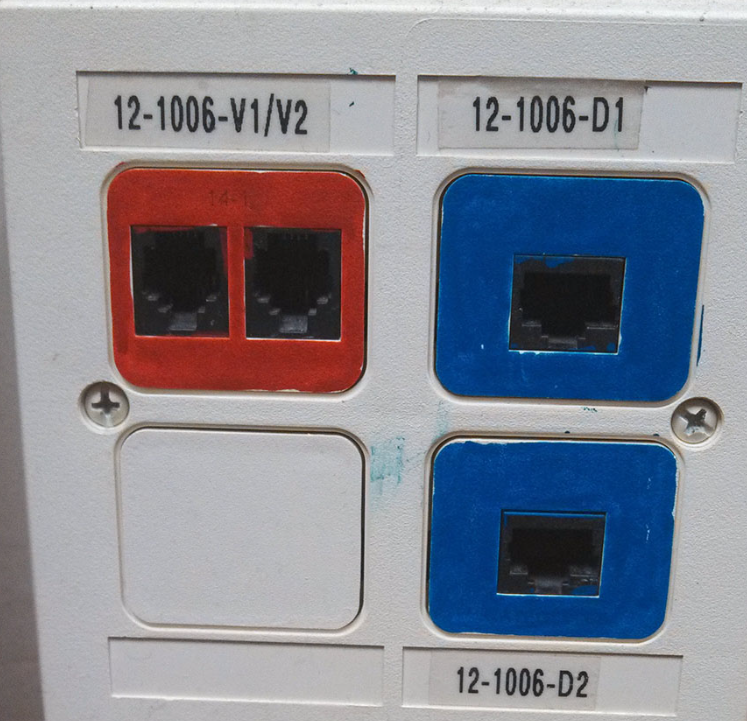
The BLUE port is for Ethernet (network). To access the wired network, you will need to plug in your laptop or other device in the BLUE port with a standard Ethernet cable (Cat 5, Cat 5e or Cat6 with and R45 end).
Ethernet cables are available for purchase at the ITS Office for $5 (14ft) or $10 (25ft). If you are having trouble connecting to the wired network try some of these troubleshooting steps before contacting the ITS Help Desk at 630-637-5440.
- Unplug the Ethernet cable from your device and from the wall and plug it back it. Make sure the clips on each end of the cable are connected securely.
- If there are multiple jacks in a room try plugging in to a different one.
- Verify that the cable is working by using it to connect a device that has already connected to the wired network.
- Verify that your computer does not have a static IP address. Your computer should be configured to receive a DHCP address.